Building a new product is exciting, but it often comes with frustrating challenges. Long meetings drag on without clear answers, big ideas get stuck in debate, and months can be spent on features that customers may not even want.
A design sprint is a focused, five-day process that helps teams solve a big challenge, build a realistic prototype, and test it with real users before investing time and money into full development.
With a small design sprint team, you clear the schedule, focus only on one challenge, and follow a proven checklist that guides you through the entire sprint.
In this article, we will walk you through how to run a design sprint for product development.
Planning Your Design Sprint
A successful design sprint is not only about speed. Whether you run your own sprint or join a design sprint workshop, the process helps your sprint team spend time on what really matters and build with confidence.
Here’s what you need to do to plan your design sprint properly.
Set Your Agenda
The first step in planning a design sprint is setting a clear agenda. A well-structured plan helps the sprint team focus on the right problems and use their time wisely.
Product teams that run sprints with purpose gain sharper insights and get more value from every session. Here’s a simple four-step process to set your agenda.
- Review existing data – Start with what you already know. Look at past customer research, user feedback, and product research. This gives the sprint team a solid foundation and keeps you from repeating work.
- Define the big challenge – Identify the problem that matters most to your product and business strategy. Ask the critical business questions that need answers. This step emphasizes critical thinking and makes sure the sprint activities stay focused.
- Outline key questions – Write down the key questions you want to answer during the sprint. These should guide how you test ideas and explore new ideas.
- Map out sprint activities – Plan the sessions for each day, from exploring the problem to building and testing. The agenda should connect directly to solving the big challenge and give the team space to think and create.
Gather Your Design Sprint Team
A successful sprint starts with the right people. In product development, your design team should bring a mix of skills, clear roles, and space for focused work.
You won’t have all the answers at the start, but with the right mix of talent, your team will chip away at the big challenge together. Here are a few roles you can focus on.
- Sprint master – They set the challenge, build the team, and lead everyone through the design sprint process.
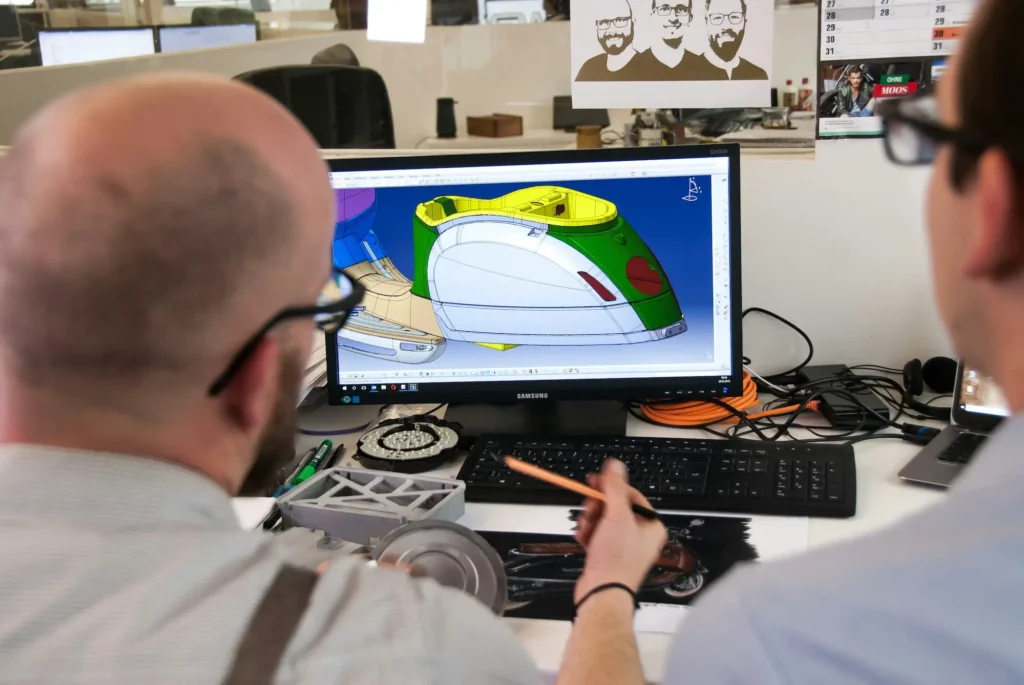
- Designers – Your design team turns ideas into something the team can see and discuss. This might be sketches, mockups, or basic 3D models.
- Engineers – They create realistic prototypes, models, or first versions of a product that are ready for user testing.
- Product managers – They raise critical business questions, bring in existing data and user research, and keep the team focused on building the finished product.
- Experts – They bring firsthand expertise that the sprint team may not have. These can be manufacturing specialists, material experts, or industry partners.
- Suppliers – Point out limits with costs, timing, or production so ideas stay realistic. Collaborating with suppliers can make it easier to move from prototype to something that can actually be built.
Draft a Plan and Identify Tools You Need to Use
A successful sprint starts with a clear plan and the right tools. Product teams should decide how they will share ideas, track progress, and test results before the week begins. Digital platforms are especially useful here.
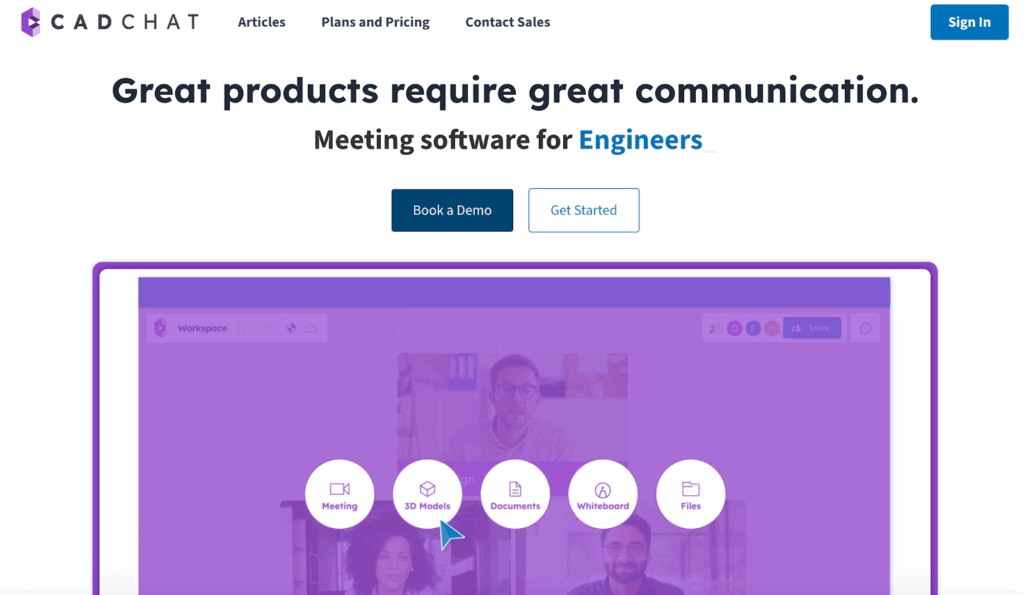
CADchat, for example, is a cloud-based video conferencing solution built for product teams working with CAD files.
It helps designers, engineers, manufacturers, and non-technical stakeholders stay aligned through real-time and asynchronous meetings inside persistent workspaces.
Tools like Slack and Notion can also support communication and keep sprint activities organized across other teams.
Physical tools matter too. Sticky notes, post-its, whiteboards, and plenty of wall space make it easier to map out ideas and track progress during group sessions.
The Six Phases of Design Sprint
The design sprint methodology is built around six phases. Each one guides the team from exploring a problem to testing a solution.
Let’s discuss the six phases and what you need to do under each phase.
Phase 1: Understand
The sprint begins by creating a shared base of knowledge. The team chipped in insights from customer research, past data, and expert talks.
In product development, this might include interviews with end-users, lightning talks, supplier feedback, or lessons from past prototypes.
Activities such as experience mapping help chart the customer journey step by step, while “How Might We” exercises turn pain points into opportunities.
By the end of this phase, everyone sees the big picture of the problem space, including technical limits and user needs.
Phase 2: Define
Once the challenge is clear, the team narrows its focus. This is where long-term goals and key metrics are agreed on. The group also explores possible user stories, such as how a customer might use a new industrial tool or interact with a finished product.
Tools like CADchat can help here by giving designers, engineers, manufacturers, and non-technical stakeholders a shared space to discuss ideas.
Because it supports real-time and asynchronous meetings, the sprint team can review sketches, CAD files, and data without losing context. This makes it easier to capture different perspectives and align on a single direction.
A common exercise your team can try at this stage is called The Golden Path, where the team maps out the ideal customer journey if the product already exists. If the product doesn’t exist yet, the team sketches how it should ideally work.
Phase 3: Sketch
Here, every team member generates ideas individually. Exercises like Crazy 8’s push participants to create eight different sketches in eight minutes.
These sketches could include drawings of a component, CAD layouts, or alternative material options.
After rapid idea generation, each person expands one sketch into a solution sketch, detailed enough for others to evaluate during a design review meeting. This phase sparks new ideas without group pressure and captures the creativity of both engineers and designers.
Phase 4: Decide
The sprint team then chooses a direction. Everyone presents their solution sketches, answers questions, and participates in exercises like dot voting to make a collective choice.
This often involves comparing designs against manufacturing constraints, customer needs, and long-term goals.
Once a direction is set, the team creates a storyboard showing step by step how the solution will work. This acts as a blueprint for the next stage.
Phase 5: Prototype
With the storyboard in place, your team builds a prototype. The goal is speed, not perfection. This can be a 3D-printed part, a quick CAD assembly, or a simple mechanical mockup.
The prototype should feel real enough to represent the idea without requiring weeks of engineering time.
A high-fidelity prototype helps test interactions, usability, and feasibility, while still being quick to build.
Phase 6: Validate
The sprint wraps up with a test. The prototype is placed in front of real users for user testing.
You can show a physical prototype to operators on the factory floor, or have suppliers comment on manufacturability.
The team gathers notes, observes reactions, and holds a short design review meeting with stakeholders.
The outcome is either a validated concept ready for further development or a list of improvements that can refine the next iteration.
Running Your Sprint Using the Design Sprint Methodology
The design sprint methodology is built to help teams move quickly from a challenge to a tested solution. You can complete a sprint week and cover all phases within a five-day process.
Let’s say your team needs to design a home security camera. Below is a sample step-by-step plan that your team can follow:
Day 1: Monday – Understand
Your sprint begins with alignment. Start by setting a long-term goal, like creating a home security camera that anyone can install in under ten minutes. Pick a few key metrics such as setup time, video quality, or connection reliability.
Have your team chip in insights from customer research, competitor reviews, and supplier input on sensors or lenses.
Then map out the customer journey from unboxing to viewing the live feed in the app. Use “How Might We” notes to turn pain points into opportunities.
Day 2: Tuesday – Define and Sketch
Tuesday is your define phase, where you focus on the challenge. Create success criteria, like whether a customer can mount the camera securely in five minutes or connect to Wi-Fi without help.
Then, work individually to generate at least eight different ideas. These could include snap-fit housings, magnetic mounts, or cable management systems.
Use sticky notes and quick sketches to get ideas flowing. Once done, turn your best concept into a detailed solution sketch and upload CAD mockups into a design review software like CADchat so the whole team can review.
Day 3: Wednesday – Decide
By Wednesday morning, it’s time to make choices. All sketches are uploaded into the shared workspace, and everyone reviews them online before casting votes digitally.
Run a short design review meeting to ask three key questions: does this solve the problem, can it be built soon, and is it ready for Friday’s test?
CADchat can help by letting everyone see and comment directly on CAD files, highlight features, and flag concerns in real time.
Once the strongest concepts are chosen, they’re merged into a digital storyboard that shows the customer journey step by step, from unboxing to first use.
With roles assigned and tasks documented, the team leaves the session knowing exactly what to build next.
Day 4: Thursday – Prototype
Thursday is all about building. The entire day is spent creating a realistic prototype. It won’t be a finished product, but it needs to look and feel like one.
You might 3D-print the housing, wire basic electronics, or create mock interfaces with LEDs. Add labels or stickers so it looks polished enough to test.
Write a test script covering core steps such as unboxing, mounting, and connecting the camera to Wi-Fi. Run a quick dry test at the end of the day to smooth out any issues before real users see it.
Day 5: Friday – Validate
Friday is the final phase, the moment of truth. Put your prototype in the hands of real users and watch them try to set it up with no help.
Ask them to unbox it, mount it, and connect it. Observe where things work and where they don’t, like if the mount feels unstable or pairing takes too long.
Capture direct quotes such as “I’m not sure if it’s recording” and note wins and failures on the wall.
After testing, decide as a team whether to refine, pivot, or move forward. Wrap up by sharing your results in Notion and CADchat so other teams can learn from your sprint week.
Turn Meetings Into Real Progress with CADchat
Stop wasting time with endless emails, outdated files, and clunky screen sharing. CADchat makes collaboration simple by turning your CAD models into live, interactive meetings where every decision sticks.
Whether you need faster approvals, fewer mistakes, or stronger stakeholder alignment, CADchat helps your team move from design to production without delays.
Here’s how easy it is to use CADchat:
- Start instantly – Launch a CADchat session from your calendar with no installs, just a link.
- Work inside the model – Views sync live with real-time cursors and feedback pinned to the design. CADchat works on any CAD file, such as SolidWorks, STEP, Inventor, and more, without extra conversions.
- Decisions stay saved – Comments and snapshots remain with the CAD file after the call.
- Invite anyone – Share access with vendors, clients, or suppliers for free.
- Stay secure – SOC 2 certified with enterprise-grade encryption to protect your IP.
FAQs About How to Run a Design Sprint
What are the 5 steps in a design sprint?
The five steps in a design sprint, as outlined in the Sprint Book by Google Ventures, are map, sketch, decide, prototype, and test. Each step moves the team closer to finding winning scenes that solve the problem in a short time frame.
How do you do a design sprint?
You do a design sprint by following the process from the Sprint Book, starting with mapping the challenge, then sketching solutions, deciding on the best idea, creating a quick prototype, and finally testing with real users. Google Ventures designed it as a fast track to spot winning scenes without wasting months.
What does a design sprint look like?
A design sprint looks like a focused five-day workshop where a team follows the structure from the Sprint Book to solve a problem. It’s a mix of group work and individual effort, all aimed at finding winning scenes that can be tested quickly, something Google Ventures popularized.
What is the first step in the design sprint?
The first step in a design sprint, according to the Sprint Book from Google Ventures, is mapping the challenge. This step sets the direction and helps the team define which winning scenes to focus on during the rest of the sprint.