Designing a new product sounds exciting at first, but the process can quickly become frustrating.
You might face unclear goals, communication gaps, and constant design changes that make progress feel slow and tiring. Teams often waste time fixing mistakes that could have been avoided with early testing and feedback.
That’s where prototype product design helps. It turns ideas into something you can test, refine, and improve before full production.
In this article, you’ll learn what prototype product design is, the key benefits it brings to your development process, and practical tips to help you create stronger, more efficient prototypes.
What Is a Product Prototype?
A product prototype is the first step in the design thinking process, where the focus is on turning a product idea into something tangible. It’s an early version you and your team can see, touch, and test for user feedback before moving to full production.
Creating prototypes helps you explore how your design works in practice and how it feels to use. You might build interactive mockups to show how your product looks and functions, even if it’s not yet complete.
These early models make it easier to explain your vision to your team during design review meetings and help you better understand user needs.
Book a demo today and see how CADchat helps teams review and refine prototypes in one shared space.
Types of Prototypes
There are different types of design prototypes that you can make depending on what stage you are in the design process, such as:
2D Sketches (Paper Prototypes)
Your first step often begins with initial sketches on paper. These low-fidelity prototypes are fast to make and easy to change. You can sketch out different layouts, shapes, and design concepts to see what feels right.
Paper prototypes are also great for early discussions with your team, potential users, and suppliers. They help you communicate ideas clearly without investing in expensive tools or materials.
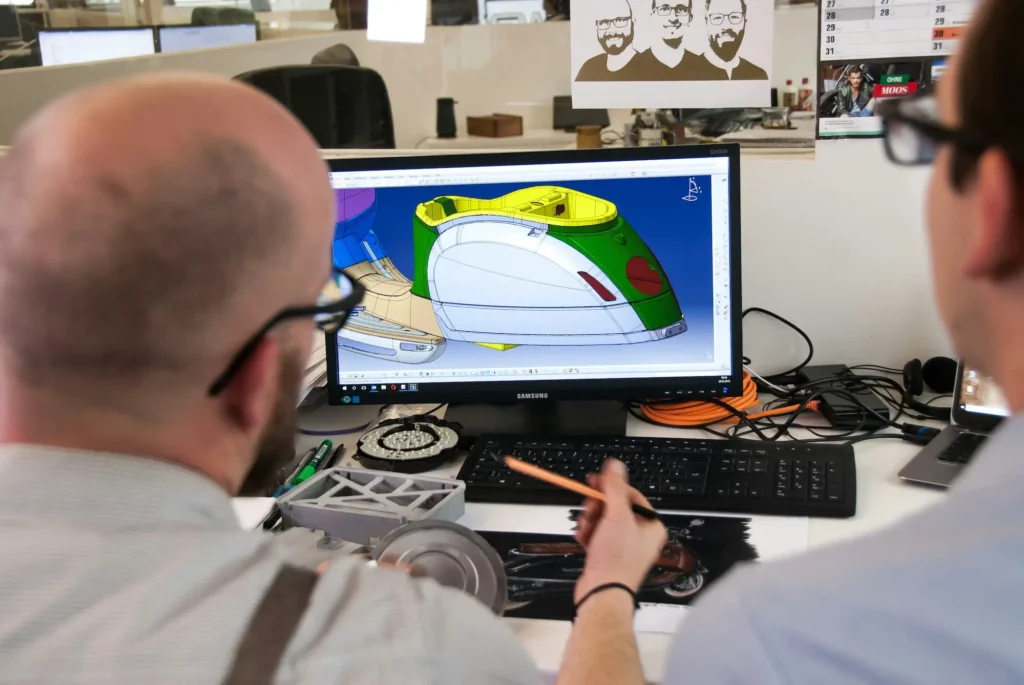
Virtual 3D Prototypes
A digital prototype lets you see your product in three dimensions before you build it. With this 3D model, you can test proportions, check fit, and visualize how each part connects.
Using CAD software, you can make virtual prototypes of your product that are easy to edit and share. This step helps you spot design flaws early, saving time and cost later.
3D Printed Prototypes
Once you’re happy with your digital design, you can try making a physical version using a 3D printer. These physical prototypes let you hold and examine your product in real life.
You can test how it feels, check size accuracy, or show it to users for early usability testing. Printing several versions also helps you decide on the best materials or configurations before final production.
Many teams also use 3D product rendering to visualize how the design will look once printed. This step gives you a realistic preview of materials, colors, and textures without using any resources.
High-Fidelity Prototypes
As your product develops, you’ll create more advanced versions known as high-fidelity prototypes.
These interactive prototypes look and act like the finished product. They’re often used for user testing to observe how people interact with your design in real situations.
You can study how users hold it, press buttons, or complete specific actions to check if the design feels natural and intuitive. This hands-on testing gives valuable insight into comfort, usability, and overall functionality.
Functional Prototypes
A functional prototype is a working version of your product. It’s built with real materials and performs the same functions as your final product. Some treat this as the final prototype you build before moving on to full-scale production.
These models are used for in-depth testing and demonstrations for multiple users, non-technical stakeholders, and product managers.
Why Creating a Prototype Matters in Product Development
Creating a prototype is one of the smartest things you can do in product development. But why? Here are its key benefits:
Validate Your Product Concept
A prototype helps you confirm that your design concepts can actually work. Instead of relying only on drawings or discussions, you can show a real example that people can interact with during the design review process.
For instance, if you’re designing a wearable device, you can test how it fits, feels, and functions in real life.
This makes it easier to spot problems and refine ideas before production starts. You save time and gain confidence that the final version of your product will solve the right problem.
Improve User Experience
User experience is a core part of product development, and prototypes make it easier to improve it. You can watch user interactions and follow user flows to spot confusion or inefficiency.
If users struggle to find a feature or use a control, that signals what needs fixing. This feedback helps you adjust the design so the final product meets user expectations more closely.
Reduce Costs and Risks
Prototyping helps reduce waste and prevent costly errors in product development. When you test your design early, you can identify weak spots in structure, usability, or materials.
For example, a part that breaks during testing can be redesigned before production begins. This process helps your team avoid expensive redesigns, delays, and manufacturing issues later.
Build Team Alignment
Product development involves many people, from designers to engineers to non-technical stakeholders, and prototypes help keep everyone on the same page.
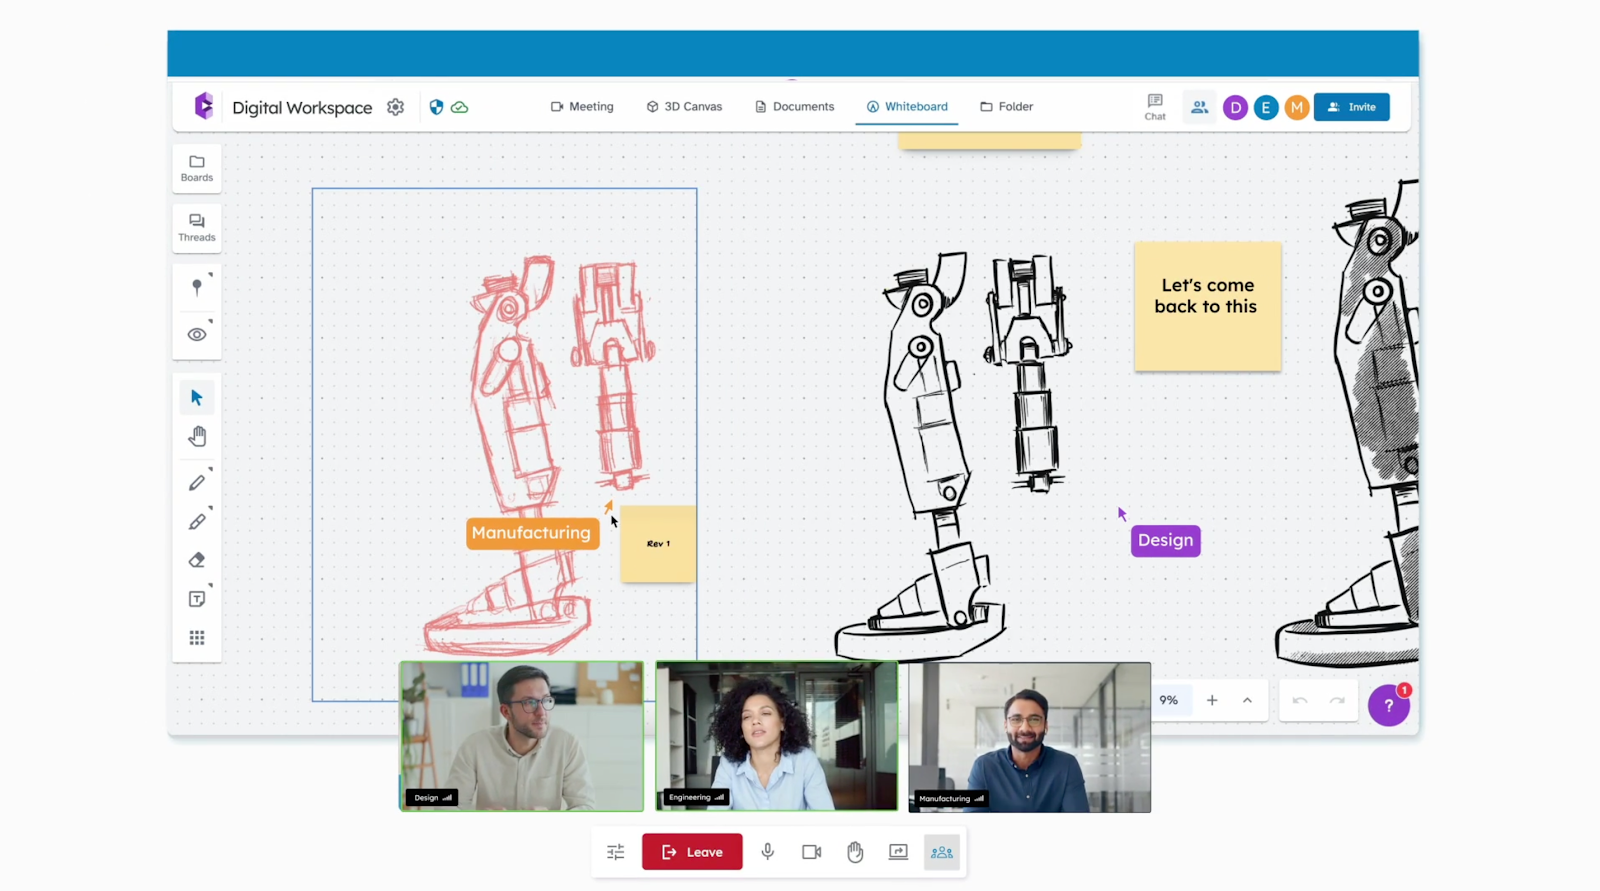
With design review software, you can show how a product looks and functions, rather than just explaining it through drawings or reports.
When your whole team can see and discuss the same physical or digital model, communication becomes clear and decisions happen faster.
Encourage Continuous Improvement
Product development is an iterative process, and prototypes support that cycle of testing and refining.
Each version gives your team the chance to gather feedback, explore ideas, and make small improvements.
You might start with a simple paper model, move to a digital version, and end with a functional prototype ready for production. Every round helps you get closer to a strong, reliable product that’s ready for the market.
Support Supply Chain Collaboration
Presenting a prototype can also strengthen your collaboration with suppliers and manufacturers.
When supply partners can see and handle a prototype, they gain a clearer understanding of your design requirements. This helps them suggest better materials, production methods, or cost-saving adjustments.
Design collaboration tools can help you present your prototype to your suppliers or manufacturers. They can then make suggestions and recommend materials, or highlight areas in your design that can be optimized.
Sharing early feedback from suppliers and manufacturers can help you avoid supply chain issues later in production.
Book a demo today and see how CADchat improves decision-making during every prototype stage.
How to Build a Prototype of a Product: A Step-by-Step Guide
Building a prototype is one of the most important stages in the product development process. Here’s what you need to know.
1. Identify the Problem and Define the Idea
Every successful prototype starts with a clear goal. Begin by identifying the problem you want to solve and defining your idea in detail. Think about what makes your product useful and how it improves the user’s life.
At this stage, you are turning abstract concepts into something practical. You are moving from an idea that exists only in your mind to a design that can be tested and shaped.
2. Conduct Market Research
Before you move forward, research your target market to understand user preferences, competitors, and possible challenges.
Market research gives you insights into what users value and helps confirm that your idea fills a gap.
If competing products are expensive or hard to use, you can design something more affordable or simpler. This step makes sure your prototype supports a design that people actually want.
3. Develop a Concept and Design
Once your idea is clear, start shaping it visually. Begin with simple sketches to capture your thoughts, then use CAD software to create detailed 2D or 3D models.
These visuals help you plan how the product looks, feels, and functions. Include basic interactions, like how a button clicks or a handle moves, so you can evaluate usability early. The more detailed your digital model, the easier it becomes to build a strong first version.
4. Decide Prototype Fidelity
Not every prototype needs to look or work like the final product. Choose between a low-fidelity model, which is simple and quick to make, or a high-fidelity version, which looks and performs closer to the real thing.
If you want to test functionality, you might build a high-fidelity version. If you only need to check the form and layout, a basic model will do. Rapid prototyping tools, such as 3D printers, help you create models quickly and modify them as needed.
5. Build the Prototype
Now you can bring your design to life. Build the prototype using suitable materials such as foam, plastic, or metal.
If you are designing a small appliance, use lightweight materials to test shape and fit before committing to more expensive options.
Pay attention to how all parts fit together, how comfortable it is to handle, and whether it performs the way you expect.
6. Test and Refine
Testing is where your prototype begins to prove itself. Let users interact with it and collect early feedback. Watch how they handle it, what they like, and where they hesitate.
Collaborative CAD reviews are also an important part of this stage. Bring together your engineers, designers, and product managers to discuss test results and user reactions. These meetings help you spot design weaknesses, review usability issues, and plan the next steps.
Each round of testing and review helps you find new ways to make your product work better, feel more comfortable, and be easier to use. It also keeps everyone on the same page, making the prototyping process more organized and smooth.
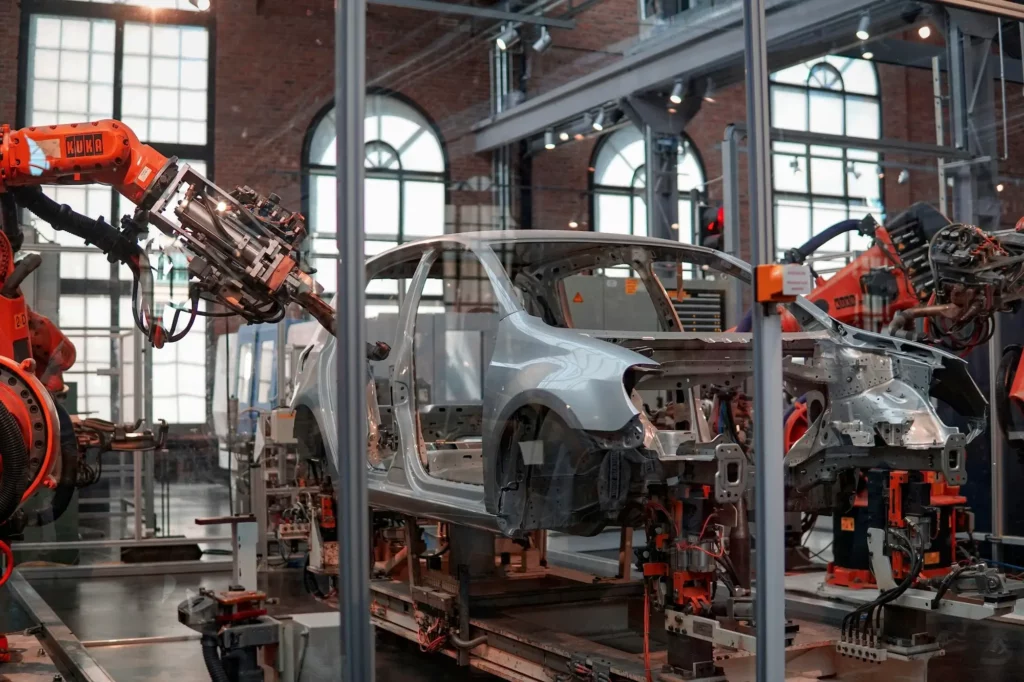
7. Finalize for Manufacturing
After several design meetings and improvements, your prototype should be close to the final version.
Review it carefully to make sure all parts work as intended and the design meets safety, cost, and manufacturing goals. Work with your manufacturing partners to confirm materials, processes, and timelines.
By this stage, your prototype is no longer just a test version but a complete design ready for full-scale production.
Handy Tips for Making a Product Prototype
Making a product prototype takes planning, patience, and creativity. Here are some tips we recommend that can help you save time and have a better prototyping process:
Keep It Simple at the Start
When you begin, focus only on the most important parts of your product concept. Your initial design should be basic but clear enough to show how the product works.
If you are designing a new kitchen tool, build a simple version that shows how it moves or cuts before worrying about the material or color. Keeping it simple helps you test ideas faster and adjust them easily in the early stages.
Iterate Quickly and Learn From Each Test
One of the best parts of prototyping is how fast you can improve. Use feedback from real users and your team to update and test again. You may need to create multiple versions before finding what truly works.
Each test teaches you something new about your design, from comfort and function to usability. Fast iteration helps you catch problems early, saving both time and money later in development.
Use the Right Tools for Your Needs
The tools you choose can make a huge difference in how smoothly your prototype develops. If you are testing shape or layout, sketches or foam models may be enough. If you need something closer to production, use 3D printing or interactive software.
The goal is to match your tools to your project’s complexity and your team’s skills. Product managers and designers often work together at this stage to pick the tools that best fit the task.
Collaborate With Your Team and Stakeholders
Good communication keeps everyone aligned. Work closely with designers, engineers, and product managers to make sure everyone understands the goal. Encourage each person to provide design feedback and share ideas.
This teamwork helps you find issues faster and come up with creative solutions. When all voices are heard, your prototype becomes stronger and more complete.
Document Everything You Do
Write down every change, test result, and piece of feedback. Keeping detailed records helps your team remember what was tried, what worked, and what didn’t. This is especially useful when working with different prototypes over time.
Documentation also protects your intellectual property by clearly showing how your product design developed from concept to final design.
Stay Flexible and Open to Change
During testing, new ideas often appear. Be willing to adjust your design instead of sticking too closely to the first version. Flexibility helps you adapt to user reactions, material limits, or production challenges.
For example, if real users find one feature confusing, it might need a complete redesign. Staying open-minded helps you reach better results and move closer to a polished final product.
Treat Failures as Part of the Process
Not every prototype will work perfectly, and that is completely normal. Use mistakes as learning tools. Each failure gives you clues about what to fix or improve.
For instance, if a handle breaks or feels uncomfortable, it points to design or material weaknesses.
Learning from these setbacks turns challenges into valuable insights, helping you build a better prototype that’s ready for the next step.
Build Better Prototypes Together With CADchat
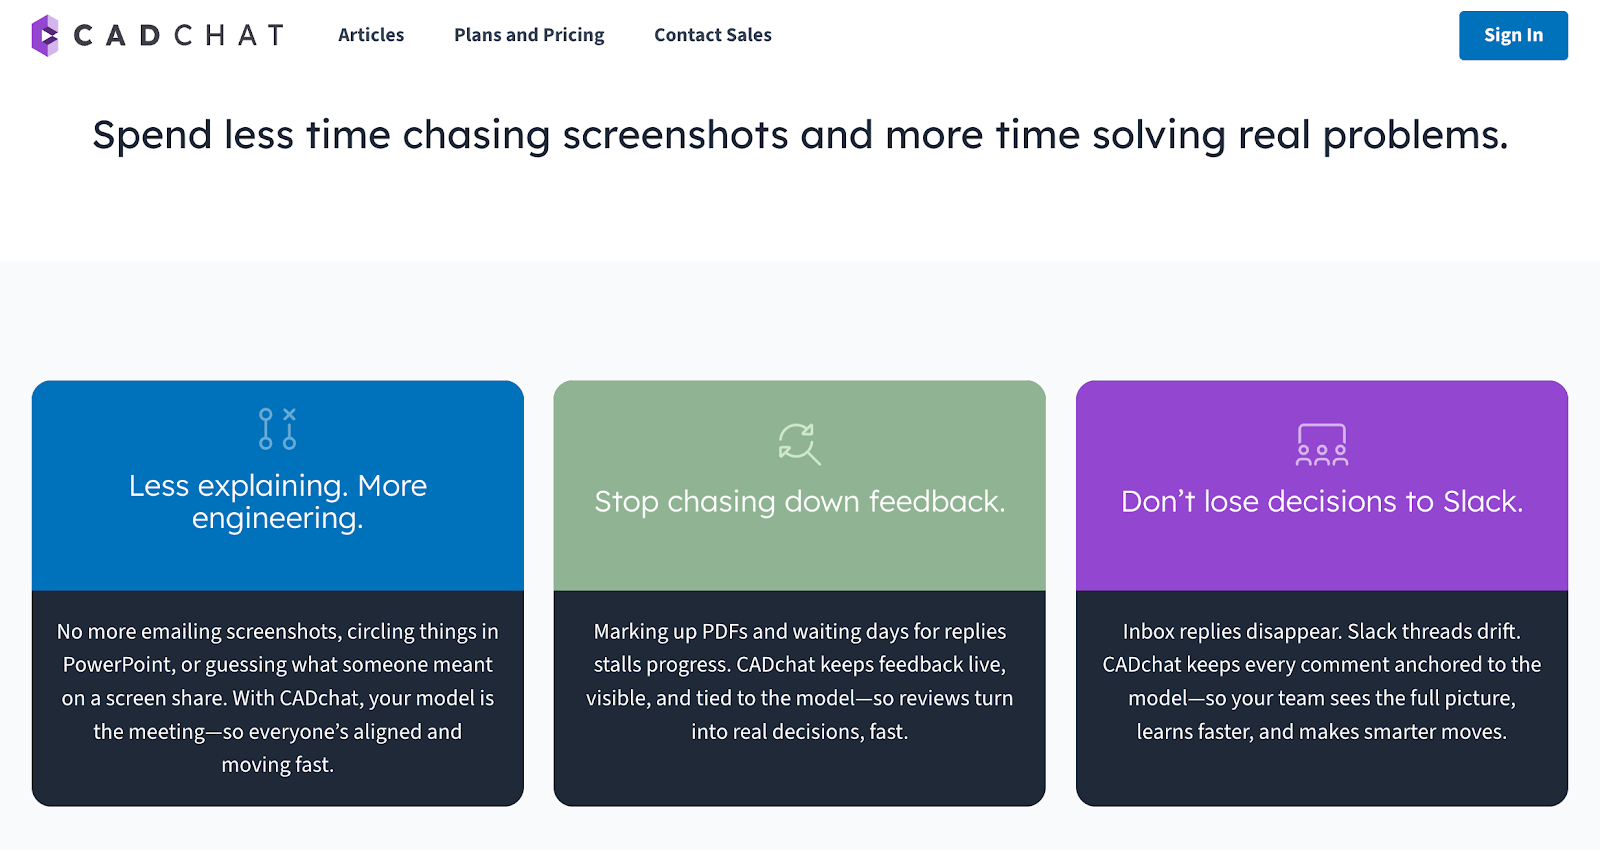
When you are building a prototype, collaboration and communication are everything. CADchat is a remote collaboration tool that helps you move your idea to life faster by bringing everyone together in one connected workspace.
The platform simplifies how designers, engineers, and manufacturers share feedback, solve pain points, and turn rough designs into real products.
Instead of wasting time on back-and-forth emails or long meetings, CADchat gives you an easier way to stay organized, make decisions, and improve every part of your prototype.
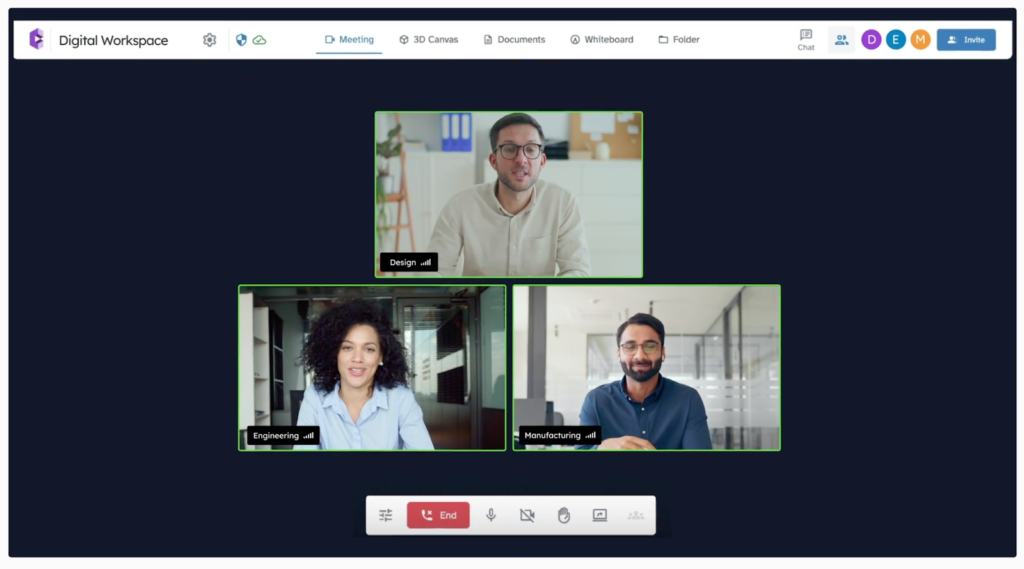
Communicate Clearly and Stay Aligned
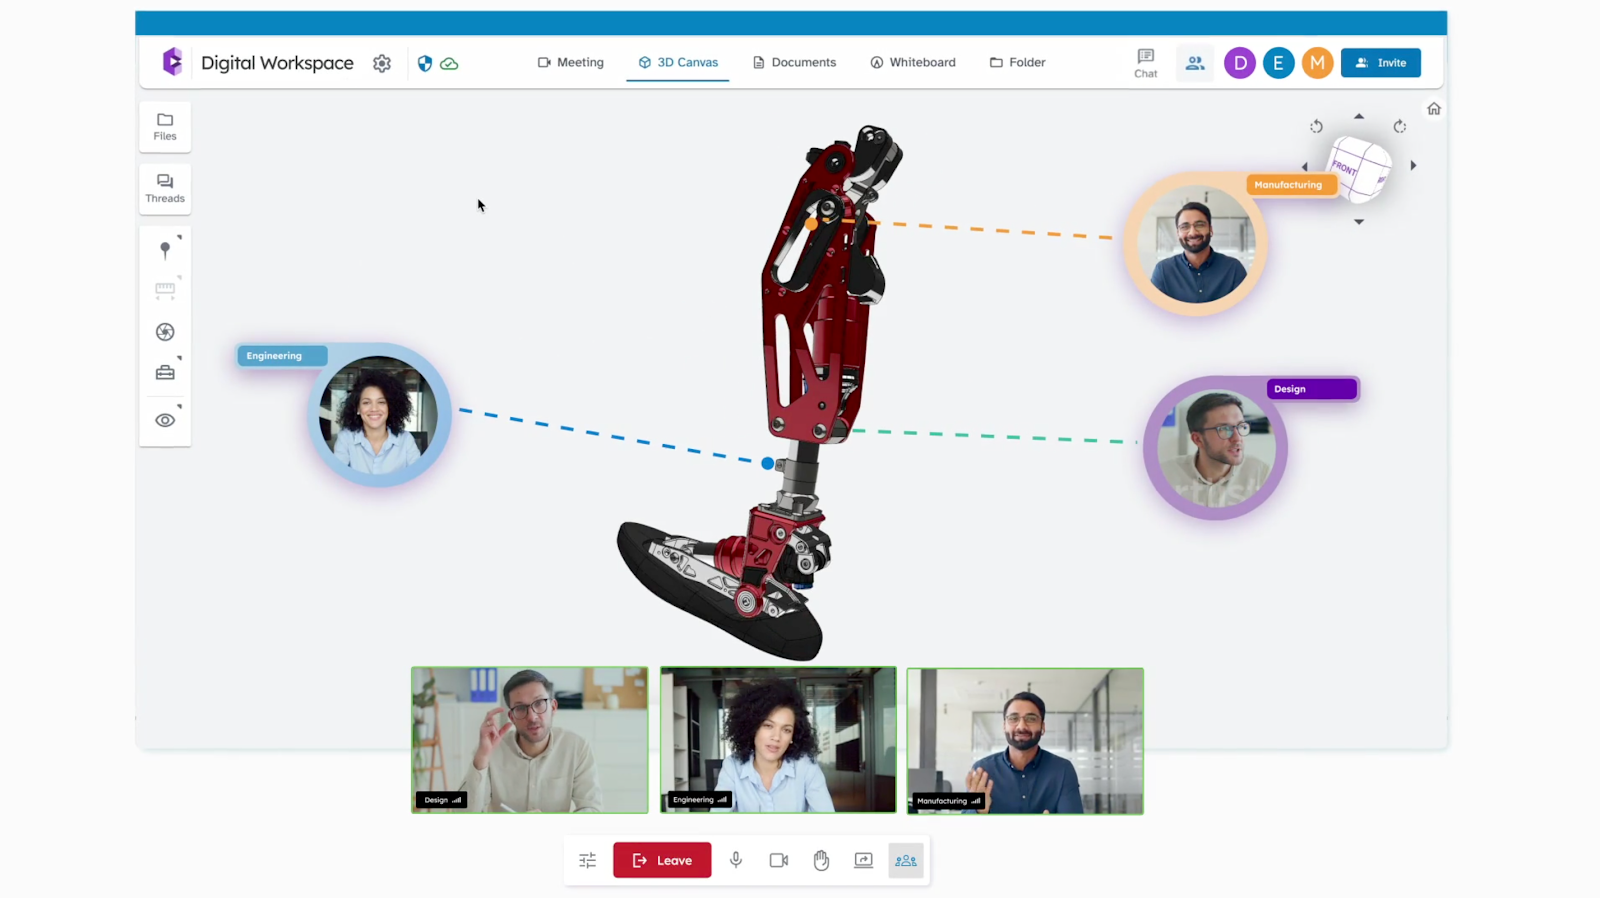
Effective communication is an essential part of any successful prototype process. With CADchat, you can meet in real time inside your CAD model, so everyone sees exactly what you mean.
You can point out design details, discuss materials, and address functionality issues without screen sharing or file confusion.
This gives everyone a clear picture of what needs to be done and helps avoid mistakes that can be costly or time-consuming later.
Turn Ideas Into Real Products Faster
Prototyping often involves many revisions, and each one takes time. CADchat speeds this up by allowing you to gather feedback directly in the model. Engineers can make live edits while product managers and manufacturers review them instantly.
This quick exchange of new ideas keeps the process moving and helps reduce waste by catching errors before production. It’s a smarter, more connected way to develop your prototype.
Keep Feedback Close to the Design
When working with multiple teams, feedback can easily get lost in emails or messages. CADchat solves this by keeping comments, snapshots, and suggestions attached to the model itself.
You can revisit discussions anytime to check progress or confirm decisions. This makes refining your prototype simpler and makes sure everyone stays focused on the same goals.
Build and Test With Confidence
CADchat helps you move from concept to hands-on testing faster. By giving everyone access to your model, you can review design functionality before the prototype reaches users’ hands.
This early collaboration helps you and your team spot weak points, improve designs, and make smarter adjustments.
FAQs About Product Prototype Design
What is a prototype in product design?
A prototype in product design is a sample or early version of a product made to test ideas and functions before final production. It helps designers and teams see how the product works, find issues, and improve the design based on real feedback.
How do I make a prototype of a product?
To make a prototype, start by sketching your idea, then create a simple model using available materials or digital tools. Test it, gather feedback, and adjust the design until it performs as expected. The goal is to bring your concept to life in a basic, testable form.
What are the five steps in prototyping?
The five steps in prototyping include defining the problem, sketching ideas, building a model, testing it, and refining based on results. Each step helps you understand how your product functions and what improvements are needed before final production.
What are the three types of prototypes?
The three types of prototypes are low-fidelity, medium-fidelity, and high-fidelity.
Low-fidelity prototypes are simple sketches or paper models, while high-fidelity ones are closer to the final product in design and function. Medium-fidelity prototypes sit in between, showing both structure and interaction.